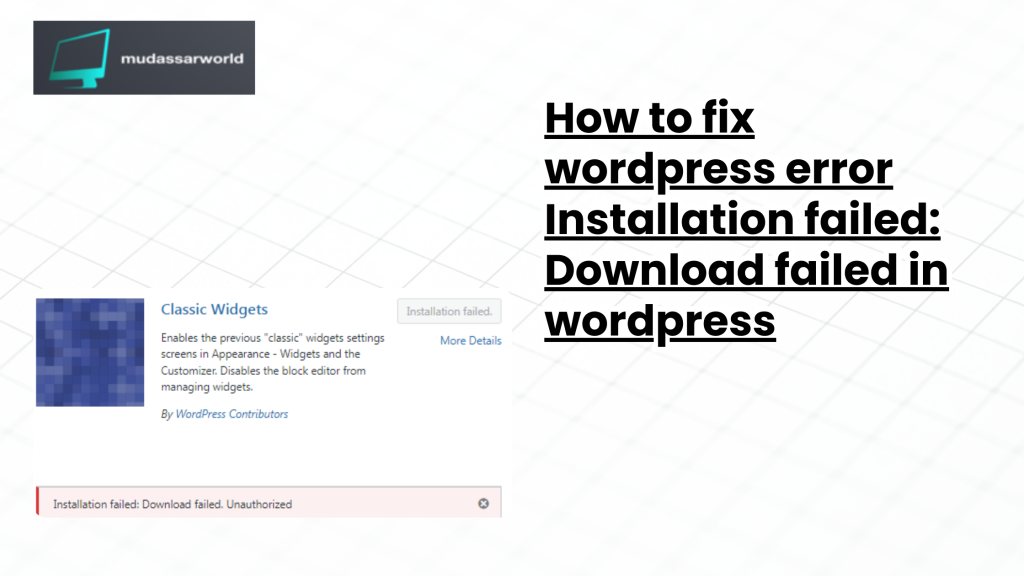
in order to fix “Update Failed: Download failed. Unauthorized” Error or wordpress error Installation failed: Download failed in wordpress I have simple easy step by step guide for beginners follow steps as i discussed below at last dont forget to share comments and like to this post if it really helped you.

Table of Contents
Certainly! Here’s an advanced, step-by-step guide with additional tips for beginners facing the “Installation failed: Download failed” error in WordPress:
Step 1: Confirm Internet Connection
Ensure that your internet connection is stable. Open your web browser and visit a few websites to verify connectivity. A reliable internet connection is crucial for downloading files during the installation process.
Step 2: Increase PHP Memory Limit
Low PHP memory limit can lead to installation failures. Access your WordPress installation’s wp-config.php file. You can find this file in the root directory of your WordPress installation. Add the following line just before the “/* That’s all, stop editing! */” line:
phpCopy code
define('WP_MEMORY_LIMIT', '256M');
This increases the PHP memory limit to 256 megabytes.
Step 3: Check File Permissions
Improper file permissions can cause installation issues. Connect to your server using an FTP client or a file manager provided by your hosting provider. Ensure that directories have permissions set to 755 and files to 644.
Step 4: Update WordPress Manually
If automatic installation fails, consider manually installing WordPress. Download the latest version from https://wordpress.org/download/. Unzip the package and upload the contents to your server using an FTP client. Follow the installation instructions by accessing your domain through a web browser.
Step 5: Investigate Server Restrictions
Some hosting providers may restrict file downloads from external sources. Contact your hosting support to inquire about any restrictions in place. They can provide insights or adjust settings if necessary.
Step 6: Try a Different Internet Connection
If possible, switch to a different internet connection. This helps rule out network-related issues. You can use a mobile hotspot or another Wi-Fi network for this purpose.
Step 7: Temporarily Disable Security Plugins
Security plugins or server firewalls might block downloads. Temporarily deactivate security plugins, if any, and attempt the installation again. Remember to reactivate them after the installation is complete.
Step 8: Check for Server Resource Limits
Certain servers impose restrictions on the amount of data that can be downloaded in a single request. Contact your hosting provider’s support to inquire about any such limits and request adjustments if necessary.
Step 9: Verify DNS Settings
Ensure that your domain’s DNS settings are configured correctly. If there are issues with DNS resolution, it may affect the ability to download files. You can check and update DNS settings through your hosting provider’s control panel.
Verifying DNS settings typically involves checking whether your domain is correctly configured to point to the right DNS servers and that these servers are properly set up. Here’s a step-by-step guide to verify DNS settings:
- Check Domain Registrar:
- Log in to the website of the company where you registered your domain (domain registrar).
- Locate the domain management or DNS settings section.
- Confirm Name Servers:
- Verify that the name servers listed for your domain are correct.
- Common name server formats look like
ns1.example.comandns2.example.com. - If you recently changed your hosting provider, ensure you are using the new hosting provider’s name servers.
- Check DNS Records:
- Examine the DNS records associated with your domain. Common DNS record types include A (IPv4 address), AAAA (IPv6 address), CNAME (canonical name), MX (mail exchange), and TXT (text).
- Ensure that these records are correctly configured based on your hosting provider’s recommendations.
- Propagation Time:
- Changes to DNS settings may take some time to propagate across the internet. Propagation time can vary but usually takes a few hours to 48 hours.
- Use online DNS lookup tools to check if the updated DNS information has propagated.
- DNS Health Check:
- Use online DNS health check tools to analyze your DNS configuration.
- Look for any errors or warnings reported by these tools.
- Compare with Hosting Provider’s Information:
- Cross-reference the DNS settings with the information provided by your hosting provider.
- Hosting providers often have specific DNS settings that need to be applied.
- Check for Typos:
- Ensure that there are no typos in the DNS settings. Even a small mistake in a domain name or IP address can cause issues.
- Contact Support:
- If you are unsure about the correct DNS settings, contact your hosting provider’s support or domain registrar’s support for assistance.
- They can confirm the correct settings and guide you through any necessary changes.
- Monitor Changes:
- Keep an eye on your website’s performance after making DNS changes.
- Regularly check the DNS settings to ensure they remain accurate.
Remember that DNS changes might not be immediately visible to everyone due to DNS caching, so it’s advisable to wait for the changes to propagate fully. If you’re having persistent issues or uncertainties, seeking assistance from your hosting provider’s support team is recommended. They can often provide specific guidance based on your hosting environment.
Step 10: Contact Hosting Support
If the issue persists, don’t hesitate to contact your hosting provider’s support team. Provide them with specific details about the error, the steps you’ve taken, and any relevant information. They can offer tailored assistance and resolve server-specific issues.
Always remember to create a backup of your website before making significant changes. This ensures you can easily restore your site in case anything unexpected occurs during the troubleshooting process.
How to fix update failed download failed. unauthorized elementor pro
If you are encountering an “update failed, download failed, unauthorized” issue with Elementor Pro in WordPress, it could be due to various reasons. Here’s a step-by-step guide to troubleshoot and resolve this problem:
1. Check License Key:
- Ensure that you have a valid and active license key for Elementor Pro.
- Log in to your Elementor account and verify the license key. Make sure it’s correctly entered in your WordPress dashboard under Elementor > License.
2. Re-Enter License Key:
- Sometimes, simply re-entering your license key in the Elementor settings can resolve authorization issues.
- Go to Elementor > License and re-enter your license key.
3. Update Elementor Core:
- Make sure you are using the latest version of the free Elementor plugin (Elementor Core).
- Navigate to the WordPress dashboard and update Elementor to the latest version.
4. Update WordPress:
- Ensure that your WordPress installation is up to date. Outdated versions of WordPress may cause compatibility issues.
- Backup your site and update WordPress to the latest version.
5. Check Hosting Environment:
- Verify that your hosting environment meets Elementor’s requirements. Elementor Pro may not function correctly on certain server configurations.
- Ensure that your server has the necessary PHP version and required modules.
6. Check for Plugin Conflicts:
- Deactivate all other plugins except Elementor and Elementor Pro.
- Attempt the update again to see if there is a conflict with another plugin.
7. Check Theme Compatibility:
- Switch to a default WordPress theme (like Twenty Twenty-One) to rule out any theme-related issues.
- Attempt the update with the default theme activated.
8. Manual Update:
- If automatic updates fail, consider manually updating Elementor Pro.
- Download the latest version of Elementor Pro from your Elementor account.
- Deactivate and delete the existing Elementor Pro plugin on your WordPress site.
- Install the downloaded Elementor Pro plugin manually.
9. Clear Cache:
- Clear any caching plugins or server-side caching that might interfere with the update process.
- Clear your browser cache or try updating from a different browser.
10. Contact Elementor Support:
- If the issue persists, reach out to Elementor support for assistance.
- Provide detailed information about the error, steps taken, and your site’s environment.
Always remember to back up your site before making any significant changes. If you’re uncertain about any step, it’s advisable to seek assistance from Elementor’s official support channels or your hosting provider. They can provide specific guidance based on your site’s configuration.
this Update Failed: Download failed. Unauthorized” Error or wordpress error Installation failed: Download failed in wordpress sometimes take time and patience to get solved so never giveup.wordpress is one of best tech of era so give time to and hardwork to get good results for your website.
